



 56 / 132

56
SEPTEMBER
CONCIERGE
TIME OFF
Once the metal was malleable, we could
stamp it to make patterns or logos on the
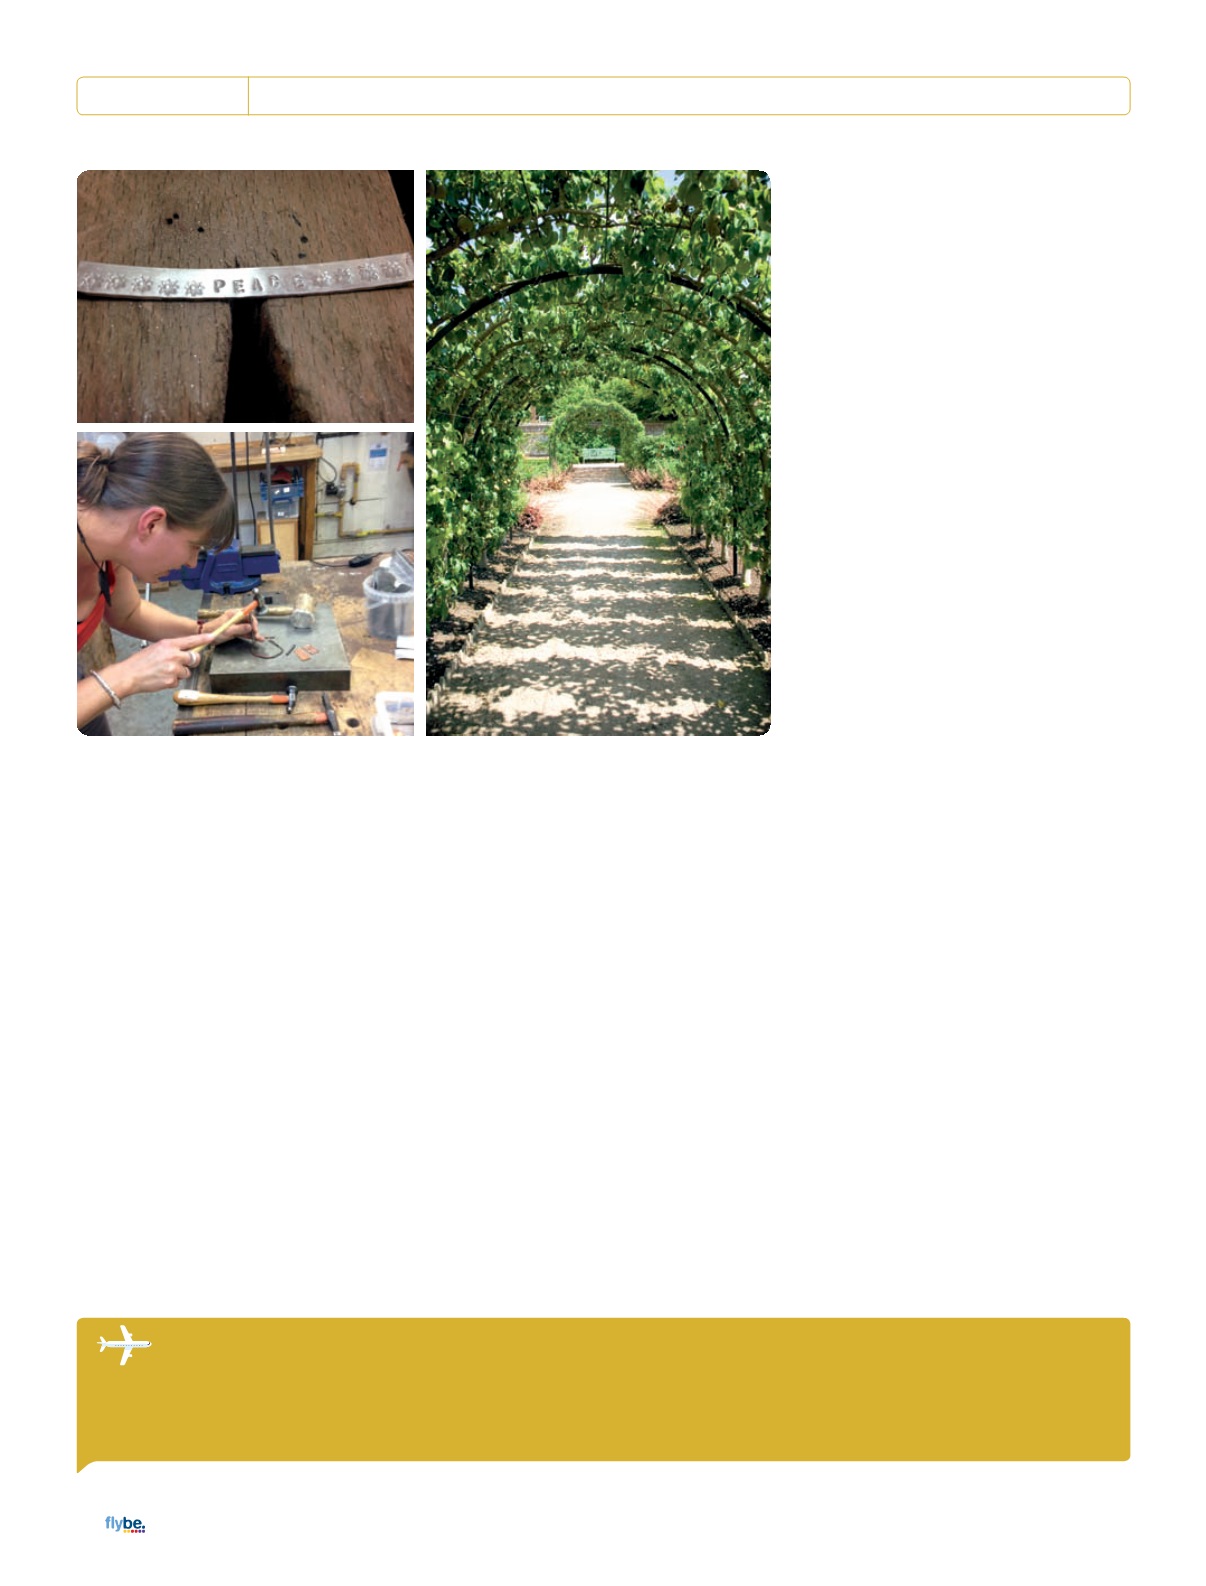
ring. I found the letters stamps, and my
inner child came out, so I went for what
I imagined might look like a 90s-inspired
‘Peace’ design. (If I had managed to get the
letters in line with each other, it may have
been slightly more effective…) We then
filed the ends of the metal for a good join,
and used pliers to bend the metal around
to form a circle. Once complete, it was
time to solder the two ends together.
Sarah explained the science behind
the soldering process, which involved
balancing a small amount of solder
below the join of the ring, then letting the
different temperatures of the metals work
to suck the solder up into the vacuum of
the join. We had to heat the whole ring
using the blowtorch (more dragon-flame
throwing) then, once it had warmed up,
focus on the join with the very small dot
of solder beneath it. Just when you were
starting to think that this alchemy would
never work for you, the solder would
suddenly merge into the gap, creating a
fully-formed ring. Once cooled down and
cleaned with mild acid, our rings were
then ready for polishing with sandpaper to
remove the firemarks on the metal.
First though, a delicious lunch –
something the college provides for its
course participants. Sitting in the dappled
sunshine beneath trees in the courtyard of
the college’s historic building, surrounded
by the hubbub of other students was lovely.
After lunch, I opted for more silver
rings, this time aiming for a twisted effect,
inspired by the collection of twisted
metals Sarah had shown us. Using a vice,
I gripped the two ends of a piece of silver
round together while holding the other end
with pliers and twisting the strands until
they looked sufficiently intertwined. To be
honest, Sarah came to the rescue on this –
it’s more tricky than it sounds, honestly!
The extra element with a twisted ring is
that you have to try to create a continuous
spiral when joining the ends together.
Once this was achieved (more or less), and
I’d made a couple more items, it became
apparent that my new set of rings were a
little on the small side. This could be fixed
to a certain degree by hammering each
one on the conical-shaped ring anvil with a
wooden mallet. You pushed the ring onto
the anvil until it was fitting snugly, then
gave it a bash all the way around, so it
would even out into a more round shape,
and also enlarge slightly.
The final step of our process involved
using special, quite hazardous-looking
polishing machines that Sarah instructed us
in how to use. Clad in goggles, we buffed
our creations to an impressively-high
shine. I let myself down a bit by squealing
as I tried to hold my jewellery still against
the rapidly-rotating polishers, but hoped
some of it was drowned out by the sound
of the machine. If my personal style of
jewellery-making didn’t resemble that of a
rather clumsy five-year-old, I would have
been ready to sell them on Etsy! I should
point out that my fellow students made
some very accomplished pieces, such
as hammered bangles and imaginative
pendants – it was impressive to see what
could be produced in just one day.
How was it?
I thoroughly enjoyed the experience of
the jewellery workshop, and have a new
appreciation of what actually goes into
making jewellery. I’d highly recommend
this course – and it’s just one of a selection
available at the college.
See more about West Dean College at
www.westdean.org.ukand more
about Sarah Macrae’s jewellery at
www.
sarahmacraejewellery.co.uk . FLY Flybe has flights to Southampton from Alicante, Amsterdam, Avignon, Bastia, Belfast City, Bergerac, Biarritz, Bordeaux, Brest-Brittany, Chambéry (from 9th December), Dublin, Düsseldorf, Edinburgh, Faro, Geneva (from 9th December), Glasgow, Guernsey, Jersey, La Rochelle, Limoges, Lyon, Málaga, Manchester, Munich, Nantes, Newcastle, Palma, Paris CDG, Paris Orly Ouest, Perpignan, Rennes, Toulon and Verona. Flybe’s franchise partner Blue Islands has flights to Southampton from Guernsey and Jersey